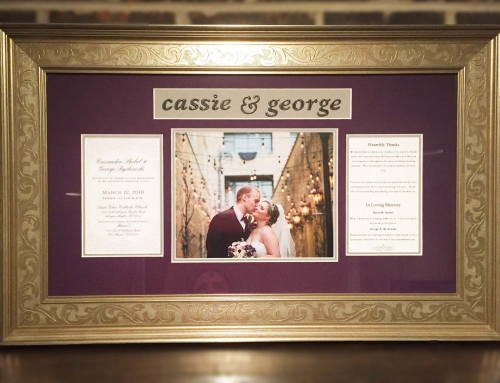
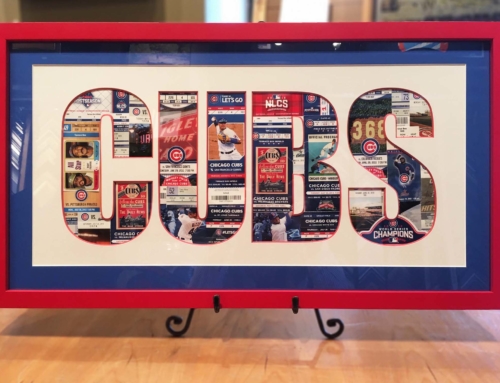
The experts at H Marion have been installing artwork for 25 years. We have installed everything from family photo groupings to monumental corporate projects. During that time, we learned a few tricks to create a flawless presentation. Here are our top tips:
Choosing a Location
Proper proportions are always the best rule of thumb in choosing a location for a piece of art, or a grouping. Consider the use of the space, if in a dining room where users will generally be seated, hang your art a bit lower. If the audience is shorter in height (a pediatric environment) or in wheelchairs, trend lower. Conversely, if users are unusually tall, like the time we hung art for the Chicago Bulls, art was installed a bit on the high side. Factor in ceiling heights, sizes, position of furniture, architectural features, and lighting elements. Its best to have all the furniture in place first as you’re aiming for balance. Remember, every rule might be modified based on actual room conditions and décor.
Determining Height
When determining height, our installers generally hang art at 60” on center; but what does that mean? That is calculated by measuring the art height, dividing that by 2 and adding to 60. So, if a piece of art measures 40” high, the top of the frame will be at 80” off the ground (40” / 2 = 20” + 60”).
Hanging Art With a Wire
If the art is being hung by a wire, measure the back of the frame, from the top of the art to the taught part of the wire. Transfer that measurement down from that 80” mark on the wall and that’s where you’ll sink your picture hook. If the piece is heavy, consider two hooks. If really heavy, consider an anchor or trying to hit a stud. If you’re hanging a mirror or something you don’t want to cant forward from the slack in a wire, then use a French cleat from the top rail.
Avoid Adhesives
Just as they say in the kitchen, if you’re making an omelet, you’ll have to crack a few eggs. Never rely on adhesives, tape, or Command Strips; just be prepared to make a hole in the wall! Remember that every adhesive (including Command Strips) will eventually fail over time. And that art will eventually fall off the wall, which typically happens in the middle of the night!
First, Create an Arrangement on the Floor!
When hanging a grouping, the easiest method is to lay out all the art sizes and shapes onto the floor directly in front of the wall where you intend to install. If the art pieces are all the same size, and you like symmetry, just find the center and go! Align the tops, stagger them, be creative! If art sizes vary and you like something more random, create a pleasing grouping on the floor, then transfer those measurements to the wall starting in the center.
Want to Do Something Unusual With Random Sized Pieces?
Hang them in a straight line, aligning the bottom of each piece letting the tops create a random pattern. This makes it look like they’re all sitting on an invisible shelf!
Hanging Larger Pieces
Larger scale pieces in a 2-story setting might require scaffolding. Select the appropriate setup making sure to protect walls, floors, railings from the metal ladders and planks.
Take all precautions for the safety of the installers. Rehearse hand placements and work in lock step with your helper. Remove tripping hazards and try and visualize every step of the art handling process so there are no awkward surprises when handling something large while suspended over a long drop.
For super-sized environments, consider scaffolding or a scissor lift. You might want to engage a professional at this point. We would love to help you out! Contact our professional art installers for any of your needs. We look forward to collaborating with you.