What is needed:
- A sturdy backing for behind the corks (Gatorboard or Masonite works best)
- Silicone Adhesive and Caulk Gun or Hot Glue Gun and Hot Glue Sticks
- Razor Blade
- Lots of wine corks!
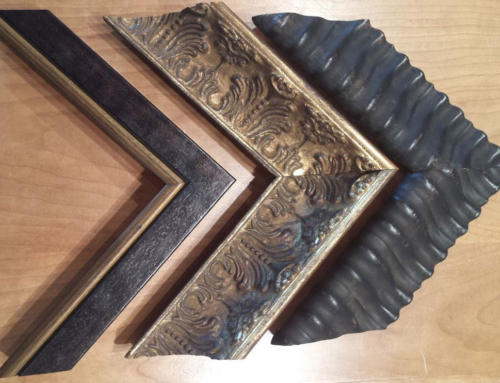
1. Begin the wine cork board by determining the approximate size you would like it to be, keeping in mind that the frame you select will add to the overall outer dimension.
Cut your backing board to the desired size.
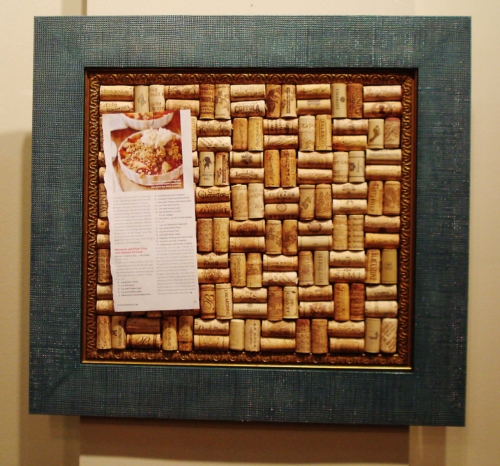
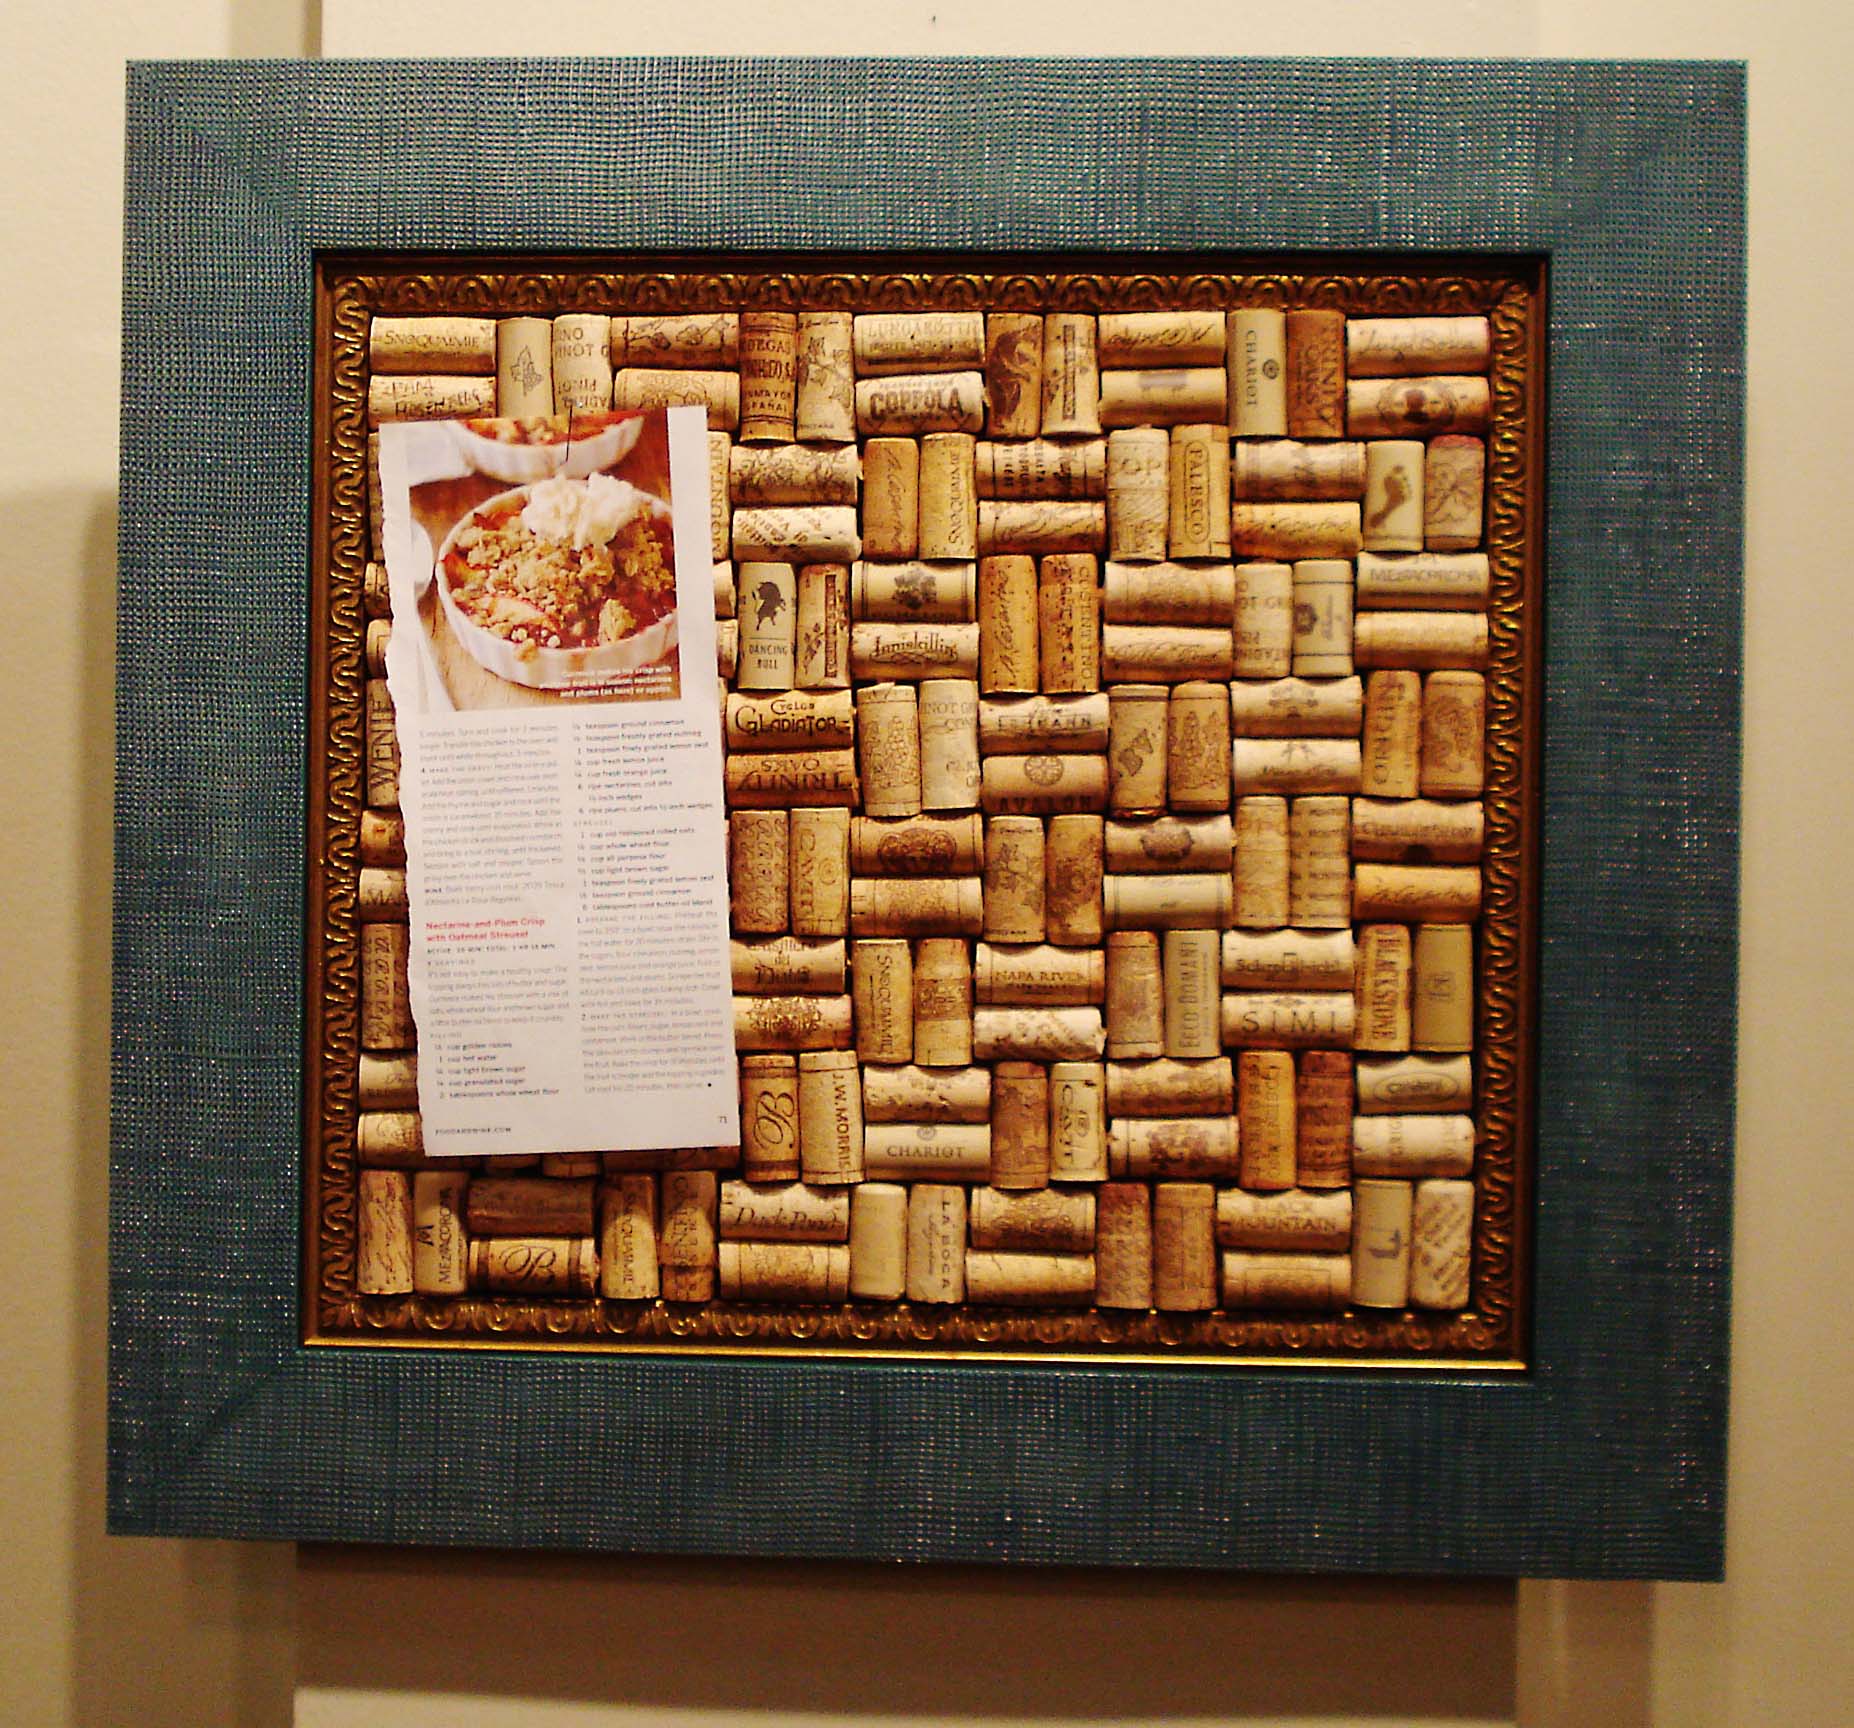
2. Starting in one corner (at least 1/2″ in from each side), assemble corks in the pattern shown. Feel free to try other patterns, but we have found that this particular pattern works quite well and is aesthetically pleasing. Corks look best when the labels are facing out. If you have too many of one brand, you can improvise and glue the label side down, showing a blank cork now and then. No one will notice a few strategically scattered repeats!
3. Once you are happy with the arrangement and pattern, pick up each cork and apply a thick strip of silicone adhesive to the back, then adhere to board. Be sure to use in a well ventilated area. Hot glue may also be used, but tends to be more difficult to work with, as it dries much, much faster.
4. All corks are not created equal. Occasionally, you may need to trim off the ends of a longer cork to make it the right size.
5. The wine cork board can be used just like a regular bulletin board; use push pins to hold up recipes, photos, or whatever you like!
6. Enjoy!